With nowhere to go but the market and home, I have had a lot of time to just, “do nothing”! How about you? So, in order to combat boredom and not to go completely crazy I keep at my tying vice, trying to stay sane and thinking of new ways of complicating my tying.
Over the years I’ve tried to mount some of my creations, donating them for my fly fishing club auctions to raise funds for their various activities. Since the pandemic, I have worked on several framing projects or I have combined some sketches of the subject, and to fly. Since framing costs have skyrocketed in the last year, I am limited money wise on what I can do, and certainly of size.
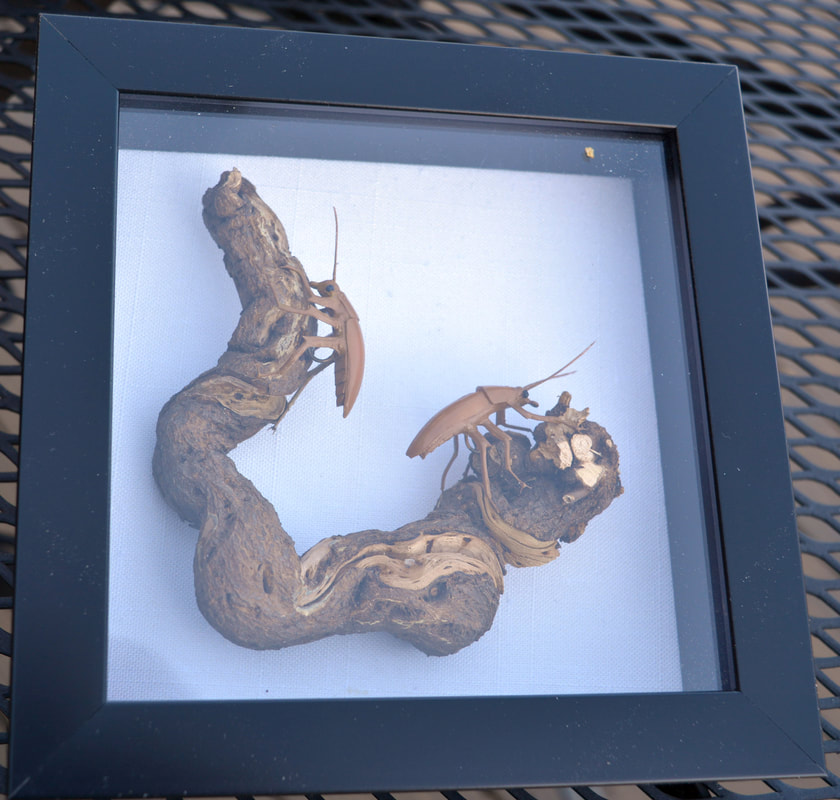
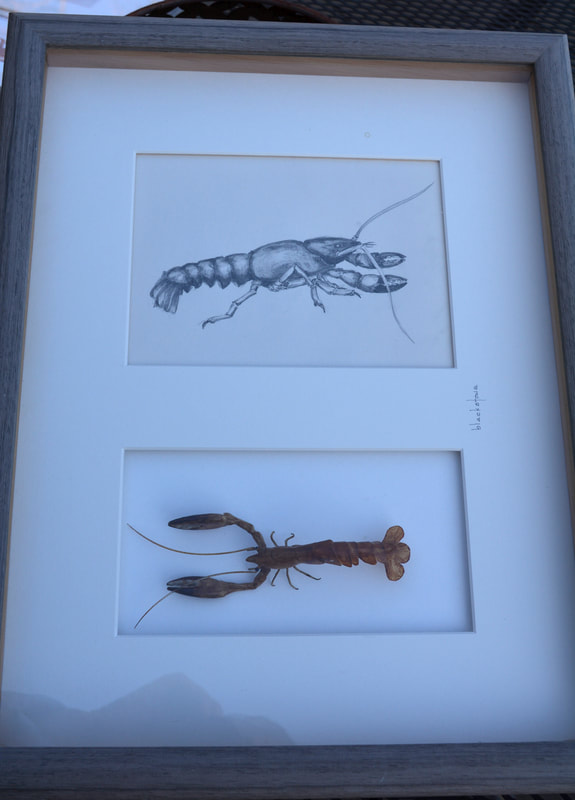
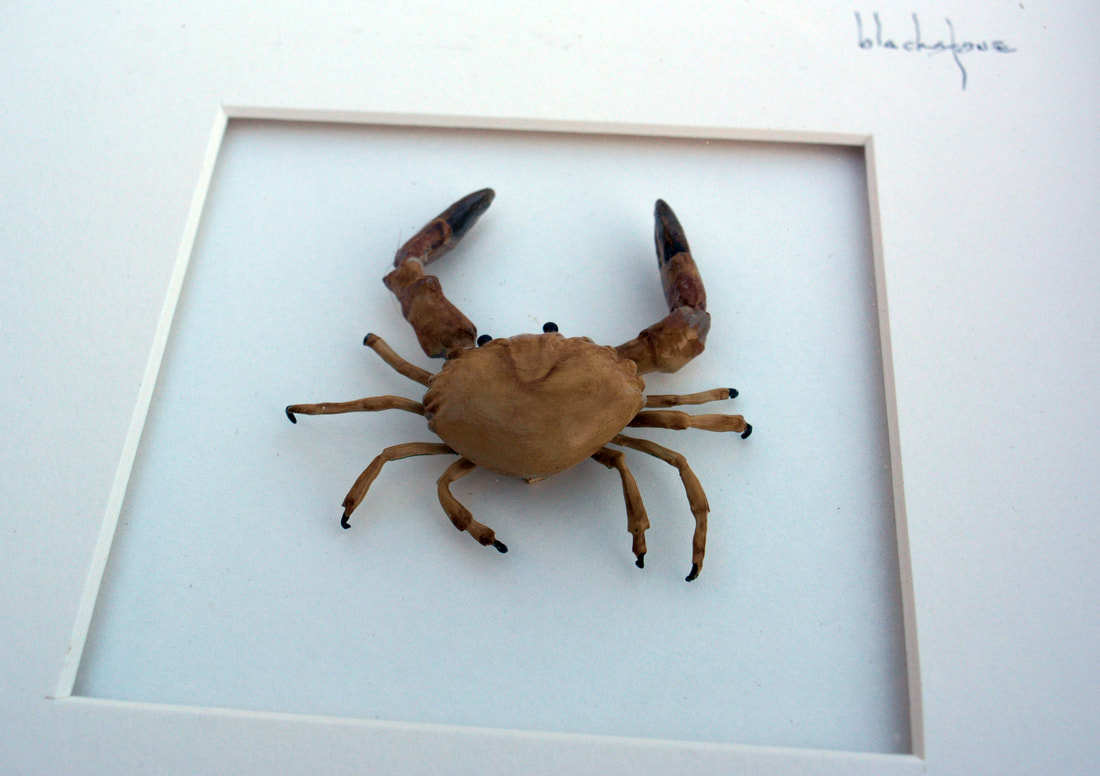
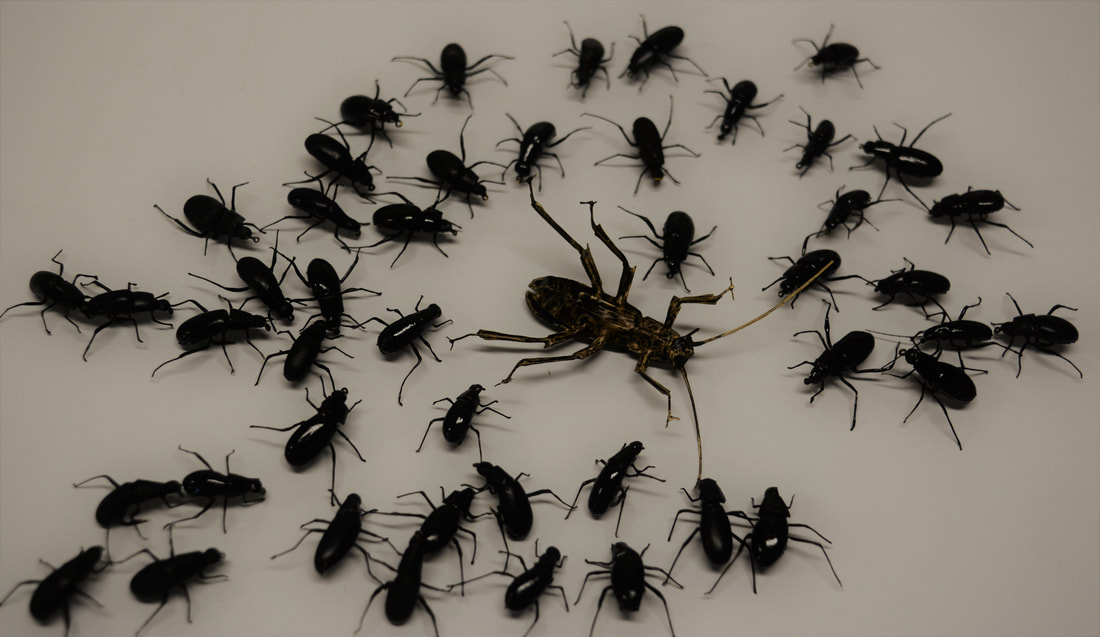
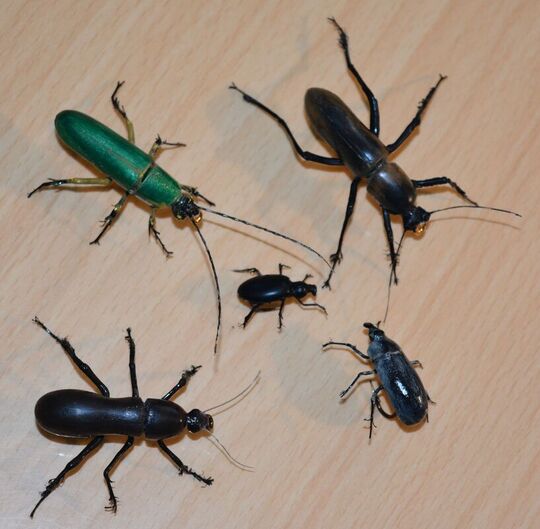
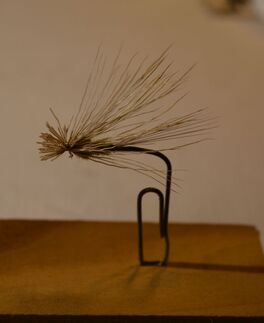
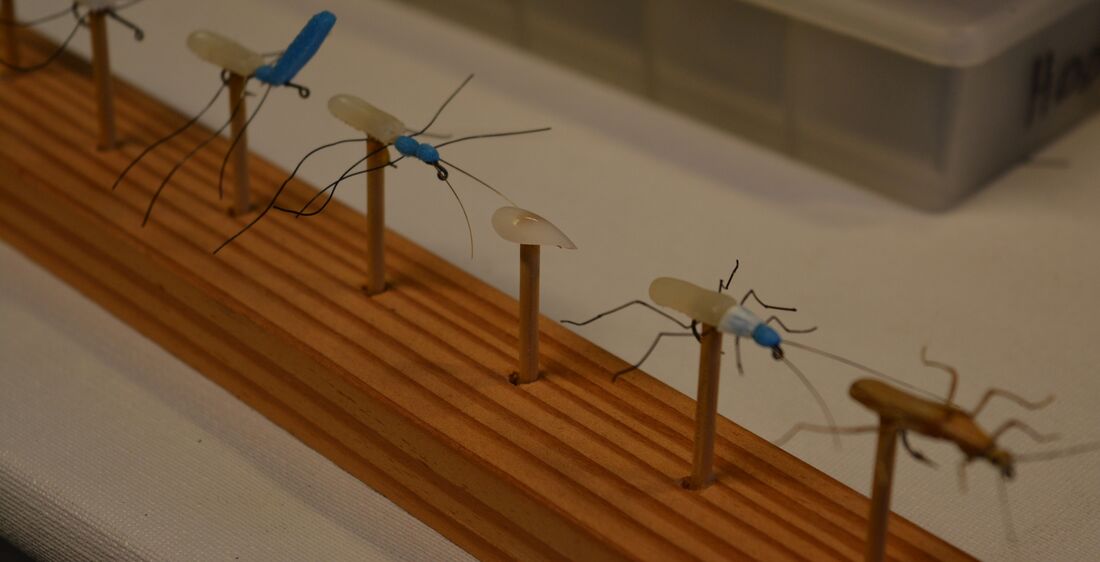
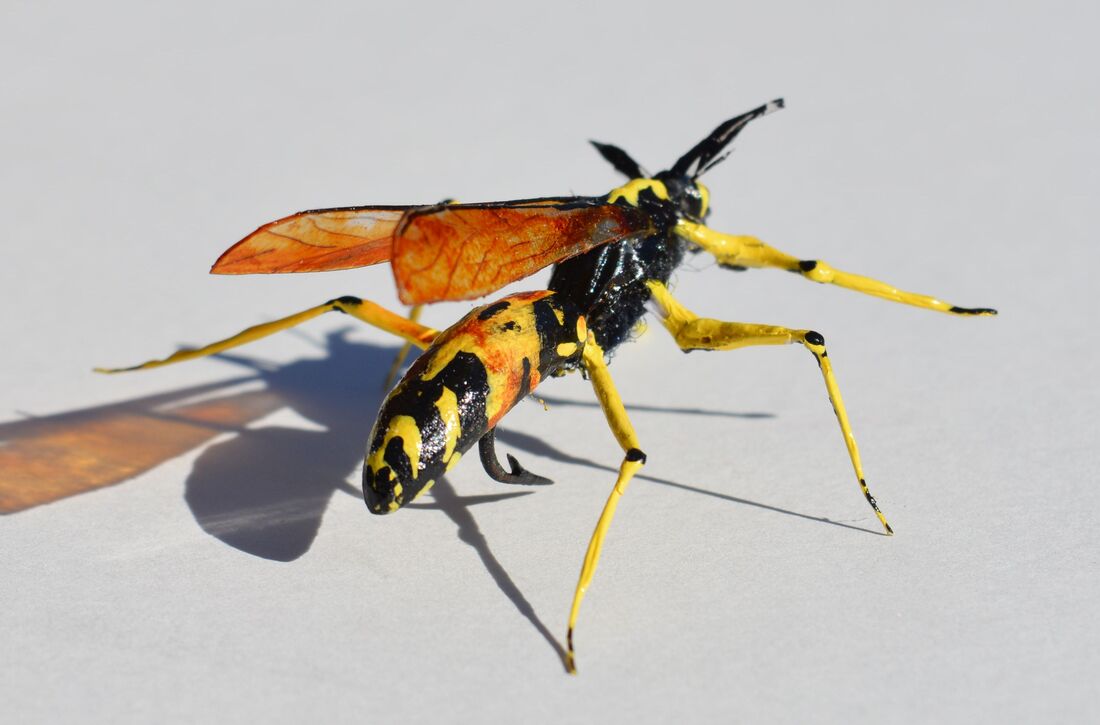
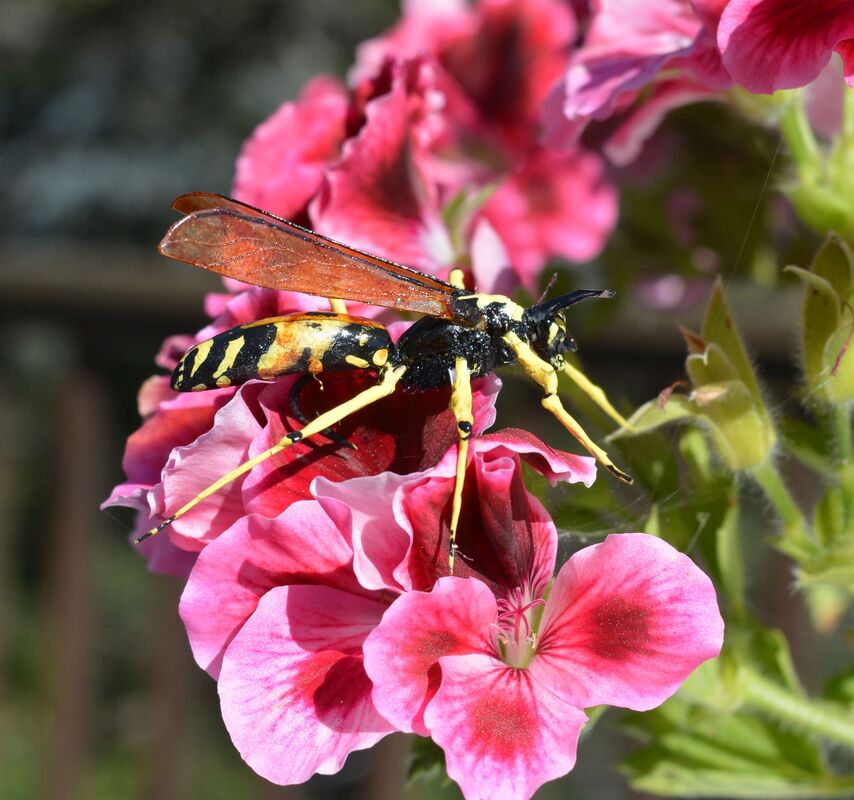
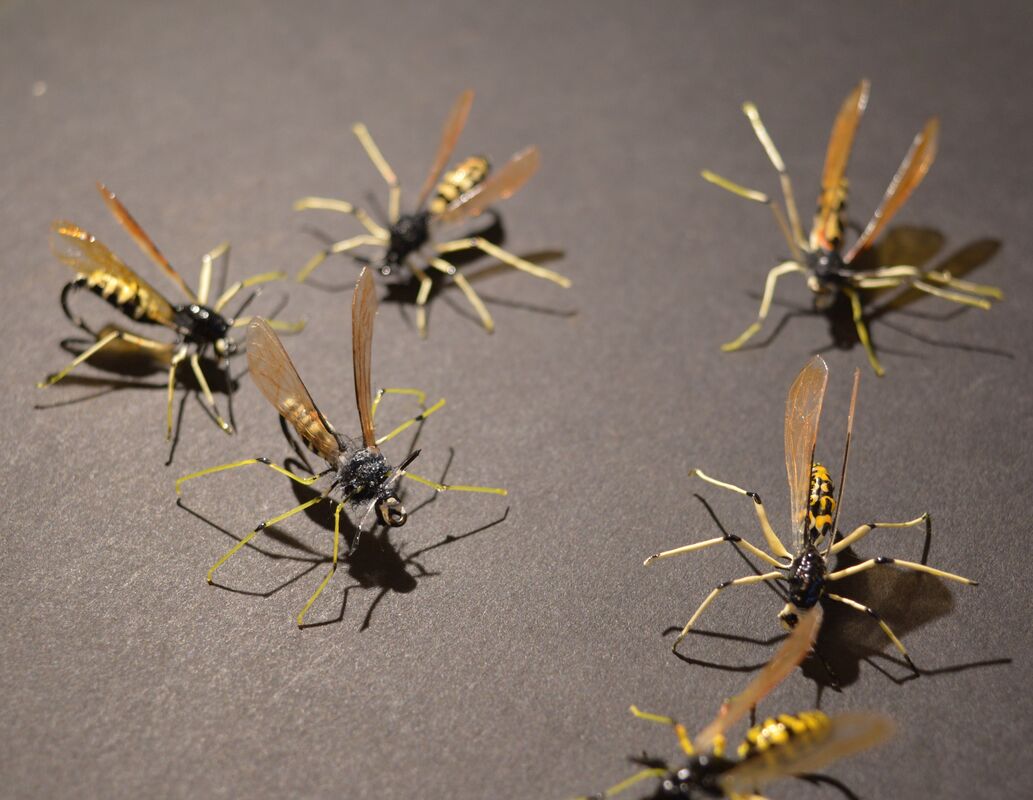
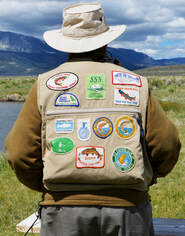
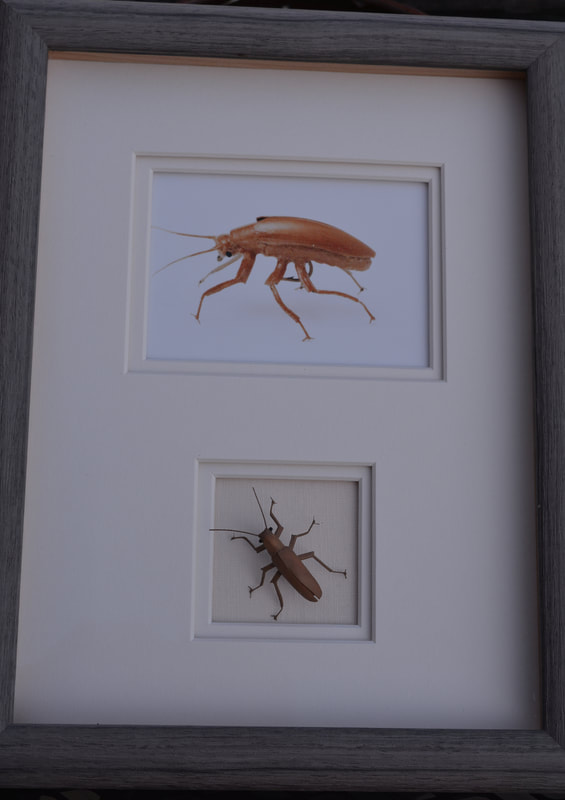
Here are several projects I have completed which may inspire you to mount some of your collected flies or your own work to keep your interest in top gear. I start a process of pre planning what my subject or fly will be, and the rest just falls into order. Photographs of fish-yourself-an outing-a scene-an art piece. All have a good place complementing the fly. Once you land on that a few drawings of the cutout matt system to help frame the items will really give the subject eye appeal. I like to space my matts with would fillers to give an added depth, and then mount my flies on a cloth background to really show them off. There are many things you can do, like maybe a map of the stream with the flys for that stream into cut-out at the bottom.
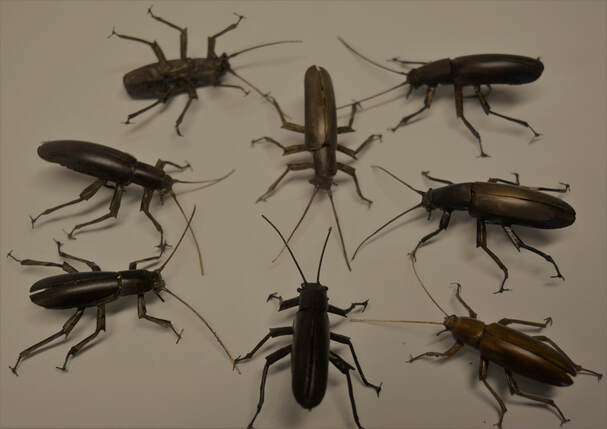
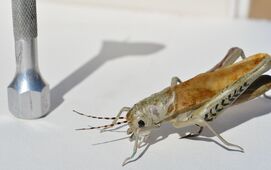
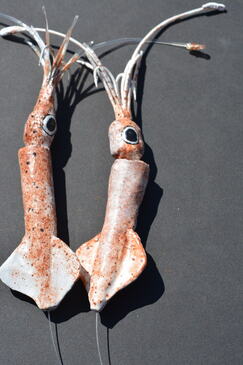
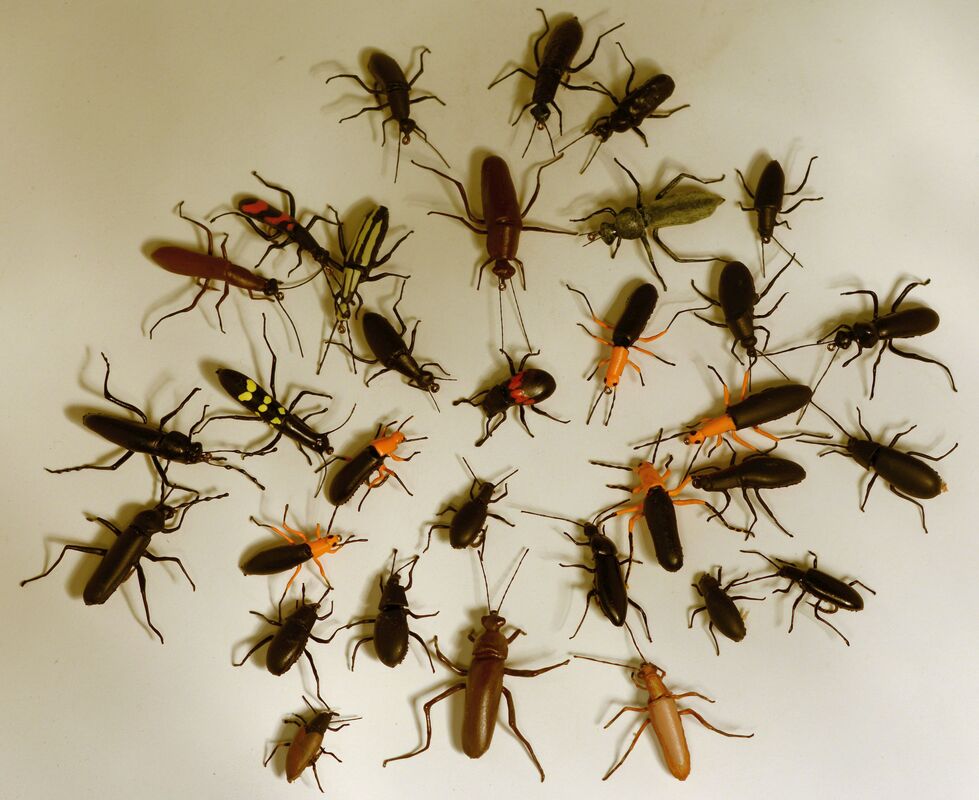
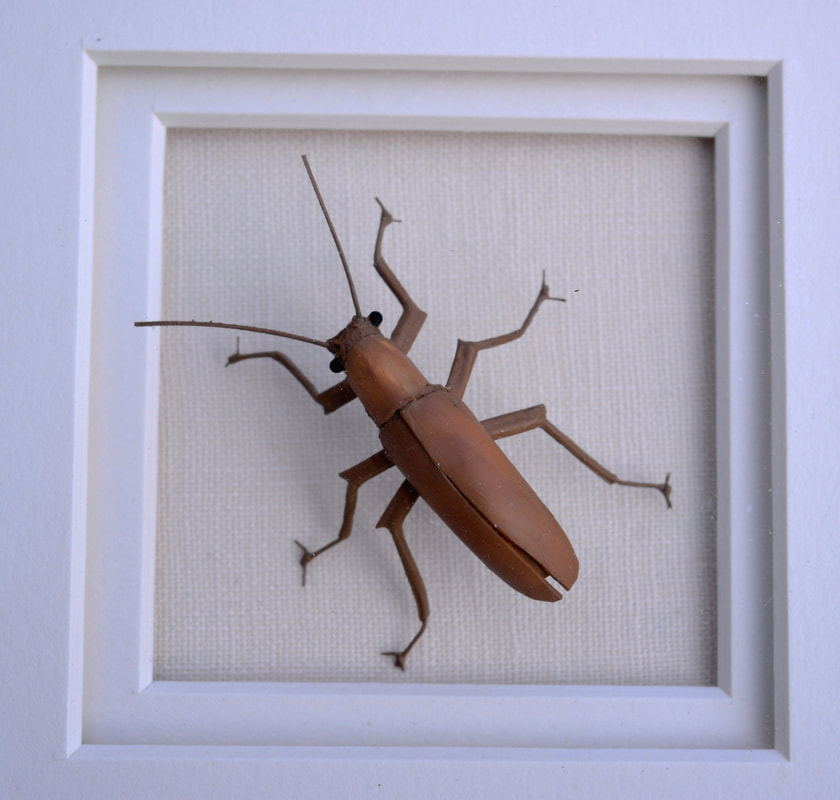
Just plain flies, such as traditional Atlantic Salmon Flys, poppers assortment, streamers assortments. An old antique fly reel with some wet flies. You have to use your imagination. You would be surprised what you could come up with. Mount an old bamboo rod in a frame and mount an antique float and some modern flies together. Mount a bug photo on a fly.
Take a second to look at my photos and see the matting and mountings. It may give you some ideas. I also space my matts away from the glass surface on some frames which adds more interest. You’ll be surprised with yourself and your results if you put some thought and planning into your subject. Just try it. You might be surprised.
Over the years I’ve tried to mount some of my creations, donating them for my fly fishing club auctions to raise funds for their various activities. Since the pandemic, I have worked on several framing projects or I have combined some sketches of the subject, and to fly. Since framing costs have skyrocketed in the last year, I am limited money wise on what I can do, and certainly of size.
Here are several projects I have completed which may inspire you to mount some of your collected flies or your own work to keep your interest in top gear. I start a process of pre planning what my subject or fly will be, and the rest just falls into order. Photographs of fish-yourself-an outing-a scene-an art piece. All have a good place complementing the fly. Once you land on that a few drawings of the cutout matt system to help frame the items will really give the subject eye appeal. I like to space my matts with would fillers to give an added depth, and then mount my flies on a cloth background to really show them off. There are many things you can do, like maybe a map of the stream with the flys for that stream into cut-out at the bottom.
Just plain flies, such as traditional Atlantic Salmon Flys, poppers assortment, streamers assortments. An old antique fly reel with some wet flies. You have to use your imagination. You would be surprised what you could come up with. Mount an old bamboo rod in a frame and mount an antique float and some modern flies together. Mount a bug photo on a fly.
Take a second to look at my photos and see the matting and mountings. It may give you some ideas. I also space my matts away from the glass surface on some frames which adds more interest. You’ll be surprised with yourself and your results if you put some thought and planning into your subject. Just try it. You might be surprised.