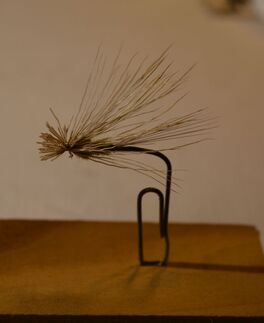
If you are like me, my tying times are erratic. It stopped like normal work time so you, “catch as catch can”. So when you sit down to tie, it’s the usual world wind of wrapping and moving materials from one place to another, spilling glue, looking for your tools, picking up dropped items, turning your bobbin, changing threads and another million other distractions which are slowdowns and frustrations. And this is the fun part. Another thing we tend to do before I even start tying his we select a book and mount it in the vice. Do you know how many posts you have mounted in the vice? Do you know how many flies you’ve tied and never have and never will fish with you? Are you going to die with more flies than you’ll ever fish? And I both know, you have about three or four patterns you really have faith than. You fish them with confidence and those are your go to’s. But, since tying is such a rewarding activity, and practicing is extremely important, let me share with you a good idea to keep your skills up and save on the cost of hooks. Particularly if you are an experimental tyer, or you are designing a new pattern, are particularly if you are changing materials or just trying to get better. I use a paperclip. That’s right, and ordinary paperclip you find in any drawer in your desk. It lends itself to the hook shape, it fits into the vice, and it eliminates obstructions such as points, Ben’s and eyes, and provides an excellent site line to observe your progressions. Take your clip, pull out the outside arm and vended in a 90° angle to the clip body mount the bottom of the clip in your vise jaws and there is your shank for tying how simple is that.

Every fly has steps. I make my first step on the clip and I tied off them. Then I take and place it in a temporary holder, putting the second clip into the vice and all repeat step one and go to step two after which that sample goes into the holder. Repeat this process until the entire step process is completed. You will be surprised when it’s inspection time to see where your fly or tying needs shoring up. But I’ll guarantee you, your time will prove improve dramatically.
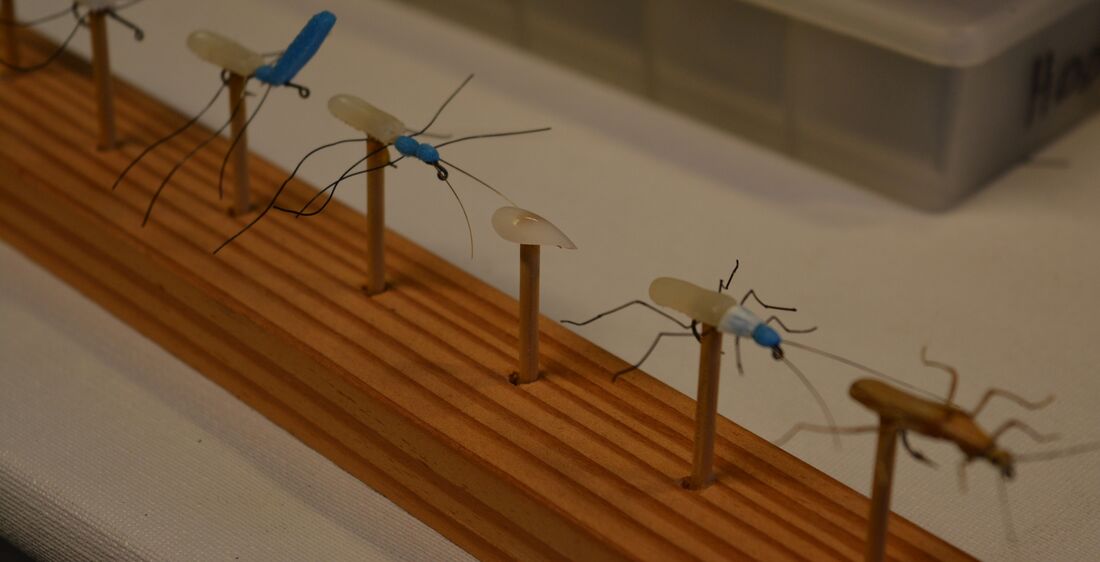
My holder which is simple is a piece of 1 x 2 Pine wood, 12 inches long. I took the wood and made a slot every one and a half inch long using a hammer and a screwdriver. The slots are just a little over ¼ inch deep. Just enough to hold the clip in the upright position without falling over. Just stand your sample up in the slot. I use this holder process many times at various shows and outings when trying to explain a process or step on a fly when flies are slow in developing. It really is a timesaver since most people don’t want to stay and watch the whole process.
Try it. I think you’ll like it! Here’s a picture of a permanent holder I use at fly shows to show a flies progress and materials in positions of steps.
Try it. I think you’ll like it! Here’s a picture of a permanent holder I use at fly shows to show a flies progress and materials in positions of steps.